


-RATED BY




Built in Canada
All Ecoline windows and doors are built in Ontario, Canada
- Top-of-the-line machinery (Forel, Gracco, Bottero) to produce the best products
- Over 60,000 sq. ft manufacturing plant
- Energy Star-rated and NAFS-11-tested
- Manufactured for local weather conditions
How to Install Window Blinds: A Full Step-by-Step Guide [2026]
Aug 7, 2026
20 min read
414
Putting up the blind is usually simple. Problems can happen if brackets are too close to a window handle, there is not enough depth for an inside mount, or screws go into the wrong spot. Even a small mistake early on can lead to a crooked blind, damaged trim, light leaking in, or a shade that blocks the window when you open it.
You can install most standard roller, zebra, cellular, and horizontal blinds with basic tools like a drill, screwdriver, measuring tape, pencil, and level. The steps you follow will depend on whether you are mounting the blind inside or outside the window, what surface you are attaching the brackets to, and the type of headrail or hardware that comes with your blind.
In today’s guide, our experts will walk you through installing window blinds step by step, what tools and fasteners you might need, common problems and when it might be better to hire a pro installation crew to ensure maximum energy efficiency, no light gaps and a sleek appearance.


Inside vs. Outside Mount For Window Blinds
Before you start, decide if you want your blinds to sit inside the window opening or outside it. This choice changes how the covering looks, how much light it blocks, how energy efficient it will be, etc.
- An inside mount puts the blind inside the window frame. This gives a cleaner look and keeps the trim around the window visible. Just make sure there is enough depth for the brackets and headrail so nothing bumps into the glass, screen, sash, or window hardware.
- An outside mount means attaching the blind to the wall, window casing, or another surface around the window. This is a good option if the window frame is too shallow or uneven. It also lets the blind cover more of the window, which can help with privacy and block more light at the edges.
| Mounting methid | Where works best | Main advantage | What to consider |
| Inside mount | Deep, reasonably square window openings | Clean, built-in appearance | Mounting depth, handles, cranks and sash clearance |
| Outside mount | Shallow openings, uneven frames, blackout applications | Greater coverage and flexible positioning | Enough wall or trim space around the window |
| Top or ceiling mount | Recesses where side mounting is difficult | Useful when brackets cannot be fixed conventionally | Structural support and compatible brackets |
Check the mounting depth before choosing an inside mount
Most homeowners believe that any blind will fit the width of the window when it’s mounted from the inside. But it’s not always the case.
For instance, roller and zebra blinds fitted with cassettes usually require more depth than slim cellular shades. Although your window may be wide enough to fit the blind, it might not be deep enough for the cassette to go all the way in.
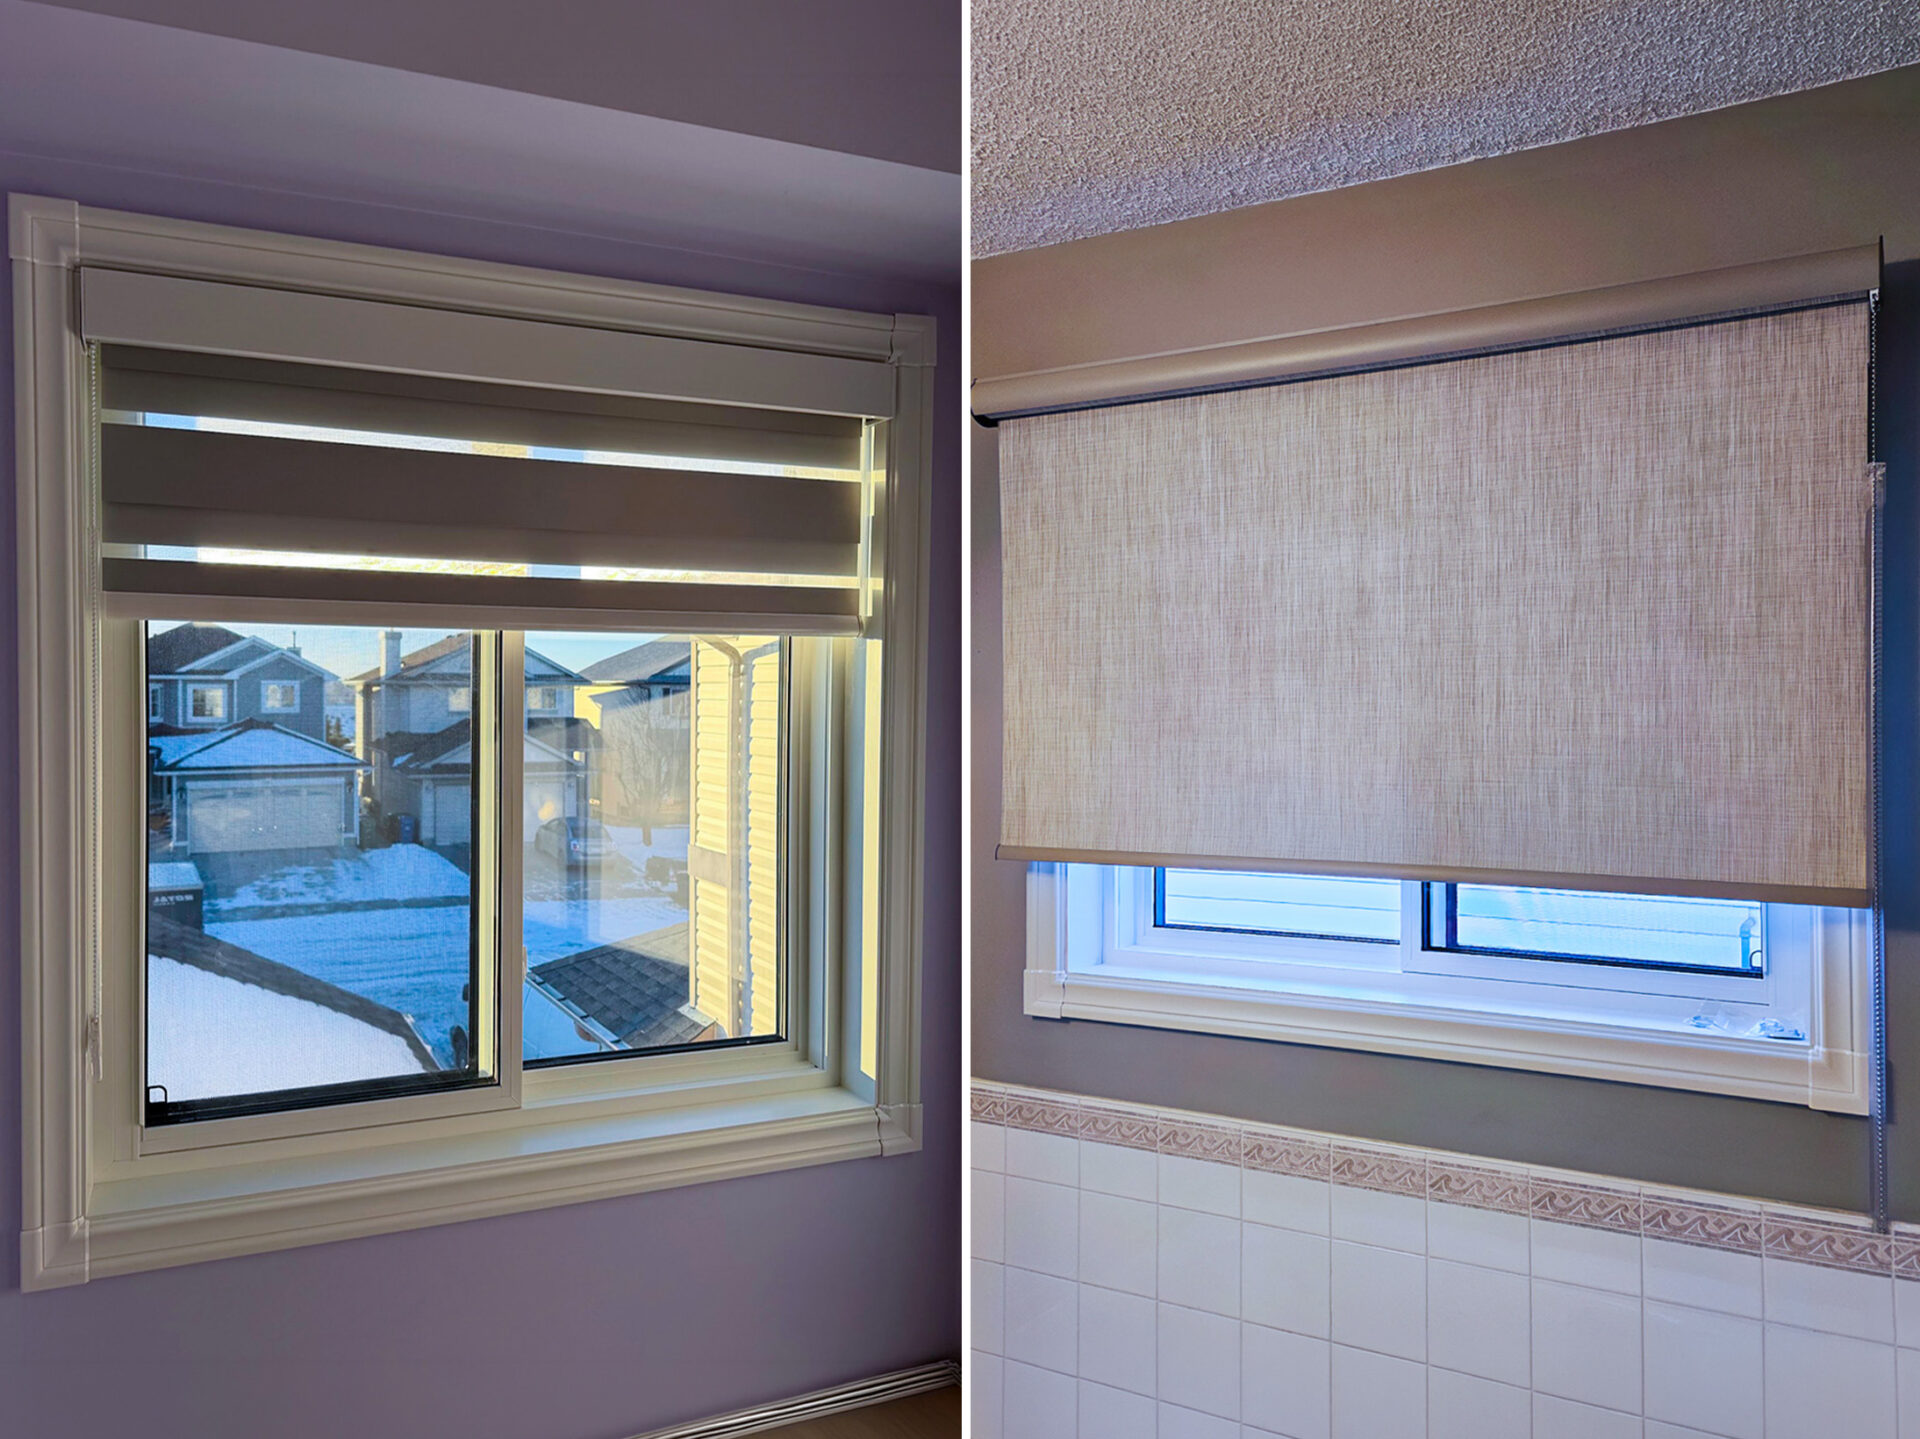
Always check the manufacturer’s instructions for the minimum depth and fully recessed depth needed for your specific blind type. These measurements can change depending on the product, bracket, and control system, so there is no one-size-fits-all answer.
Moreover, you should examine not only the top part of the window frame. Before drilling, open and close the window to see whether the blind might obstruct:
- casement or awning window handles and cranks
- inward-opening sashes
- removable insect screens
- locks and latches
- patio door handles
- the window sill when the blind is fully lowered
A blind that seems to fit when the window is closed can still be a problem if it stops you from opening or using the window as usual.
Outside mounts usually provide better light coverage
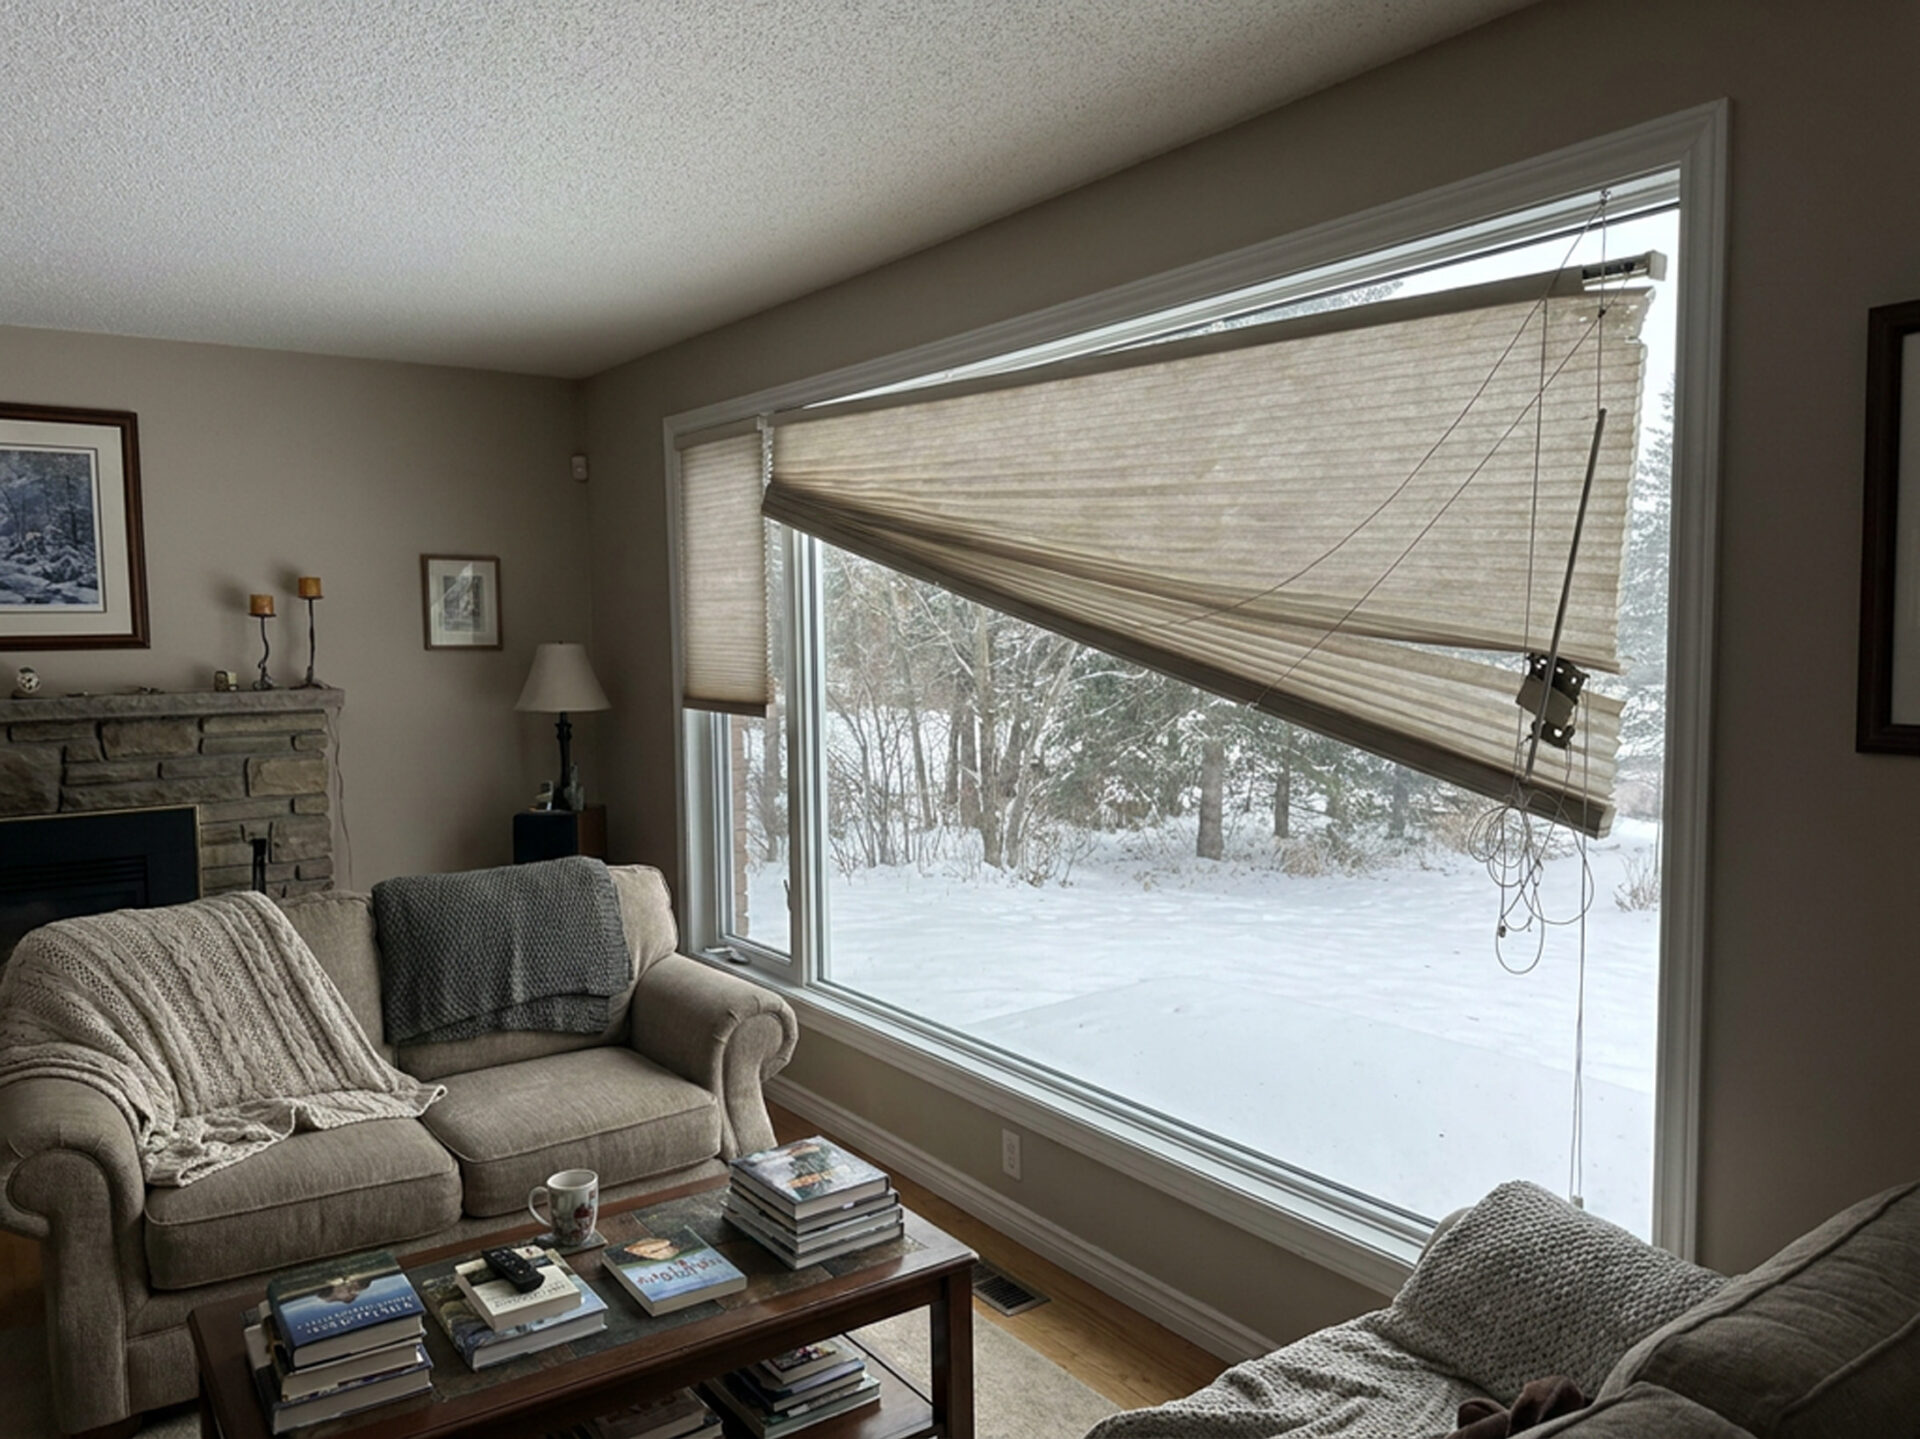
Inside-mounted blinds usually have a small gap between the fabric or slats and the sides of the window. This gap is normal and lets the blind move up and down easily.
In a living room or home office, this gap might not matter much. But in a bedroom, where you want the room darker, the gaps can be more obvious.
A blackout roller shade fitted outside can cover not only the glass but also reduce the amount of light coming in from the sides. The amount of additional coverage that you will need will depend on the blind, the trim, and the window, so you should decide on this when taking your measurements rather than after you have installed the shade.
Outside mounting is also helpful when:
- the window opening is too shallow for the chosen blind
- the frame is noticeably out of square
- projecting hardware limits inside clearance
- you want to make the window appear wider or taller visually
- several neighbouring blinds need to align at the same height
DIY Blinds Installation vs Professional Installation: What You Need Before You Start
If you are installing a simple, standard-size blind on an accessible window, DIY installation can be manageable. You will typically need a steel measuring tape, pencil, level, screwdriver or drill, suitable drill bits and the mounting hardware supplied with the blind.
Custom window blinds are made for a specific window, mounting spot, and way of operating. Large roller shades, wide zebra blinds, motorized blinds, patio-door blinds, and high-up blinds are less forgiving. If a bracket is even a little off, it can be easy to see on a wide shade, and mounting mistakes can make the blind hard to use.
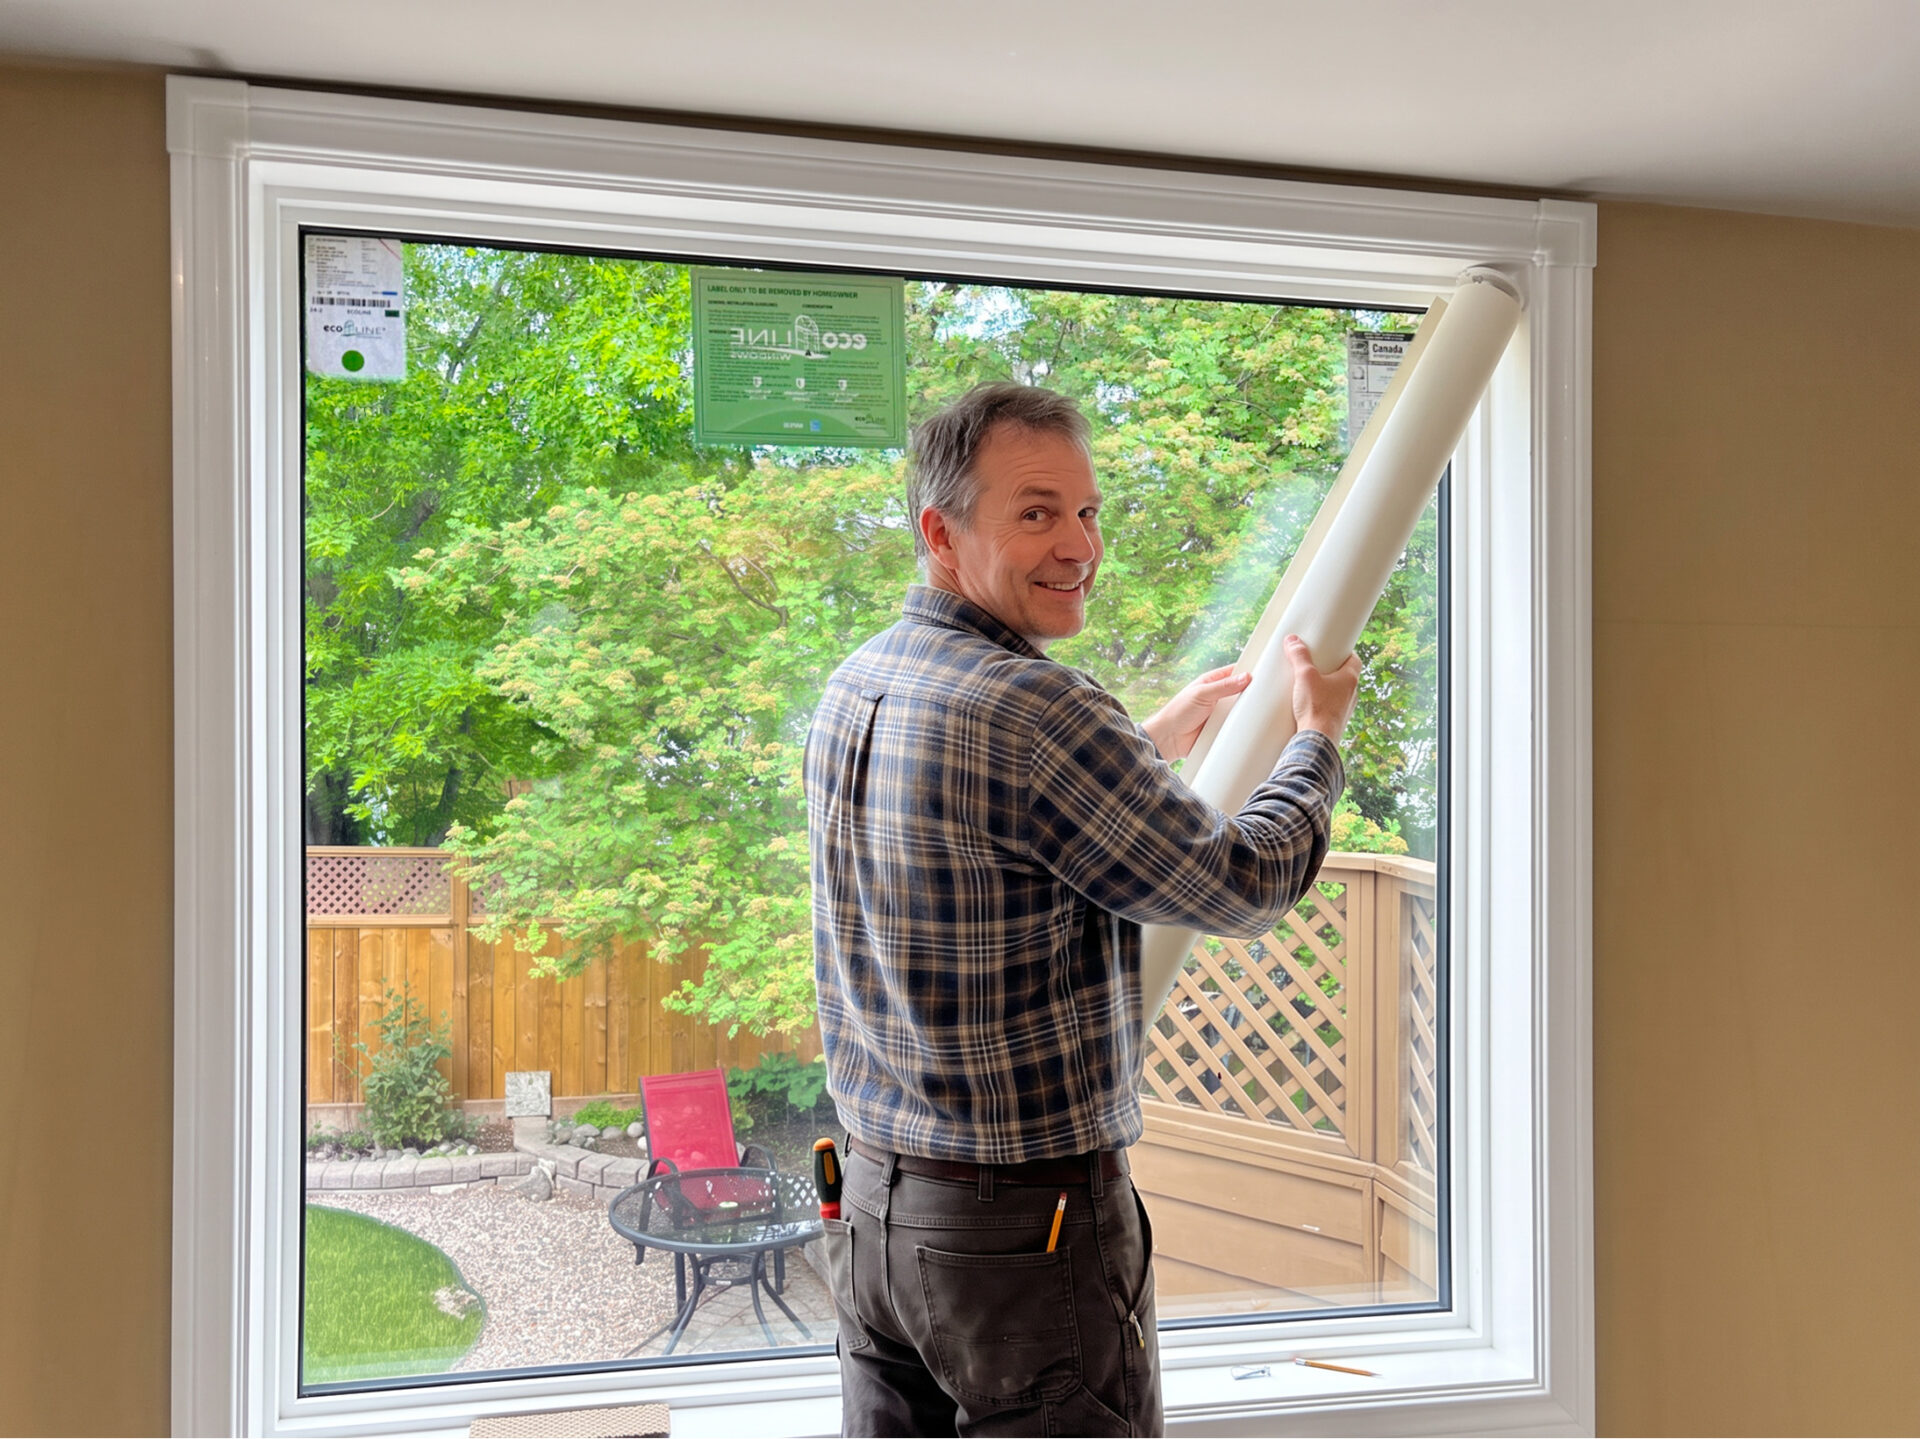
That’s why it’s usually better to have a professional install custom blinds, large windows, or more complicated window coverings. For many custom blinds, measuring and installation are included when you buy them, or you can set them up through a blind installation service.
What should a blinds installer check before fitting your coverings?
Professional installation is vital if you want to ensure maximum energy efficiency, light and privacy control. At Ecoline, we always recommend checking that your blind fits the window and the planned mounting style, and figuring out where the hardware can be safely attached.
Depending on the project, professional installation typically includes:
- checking the blind dimensions against the window opening
- confirming whether an inside or outside mount will work as planned
- checking clearance around handles, cranks, trim and moving sashes
- identifying the mounting surface and choosing suitable fasteners
- positioning and levelling brackets
- adding centre or support brackets where the blind requires them
- mounting the headrail, cassette or roller
- testing the blind through its full range of movement
- checking that the window or patio door can still open and operate normally
- setting up and testing motorized controls where applicable
This is particularly useful when you have more than one window, since windows that appear to be the same are not necessarily the same size or exactly square, meaning that each blind has to be checked and fitted individually.
DIY Window Blinds Installation Step-by-Step Tutorial
For simple standard-size blinds and shades from big box stores, the installation process usually follows these steps:
1. Check the blind against the window before drilling.
Hold the blind, headrail or cassette in the planned position and confirm that the width, mounting depth and clearances work. Open the window fully and check handles, cranks, locks and screens.
2. Position and mark the brackets.
Follow the manufacturer’s required bracket spacing rather than placing them by eye. Make sure the brackets will not interfere with the operating mechanism, motor or control chain.
3. Check that the mounting points are level.
Use a level before drilling. Even a small difference between the brackets can become noticeable once a wide roller or zebra shade is installed.
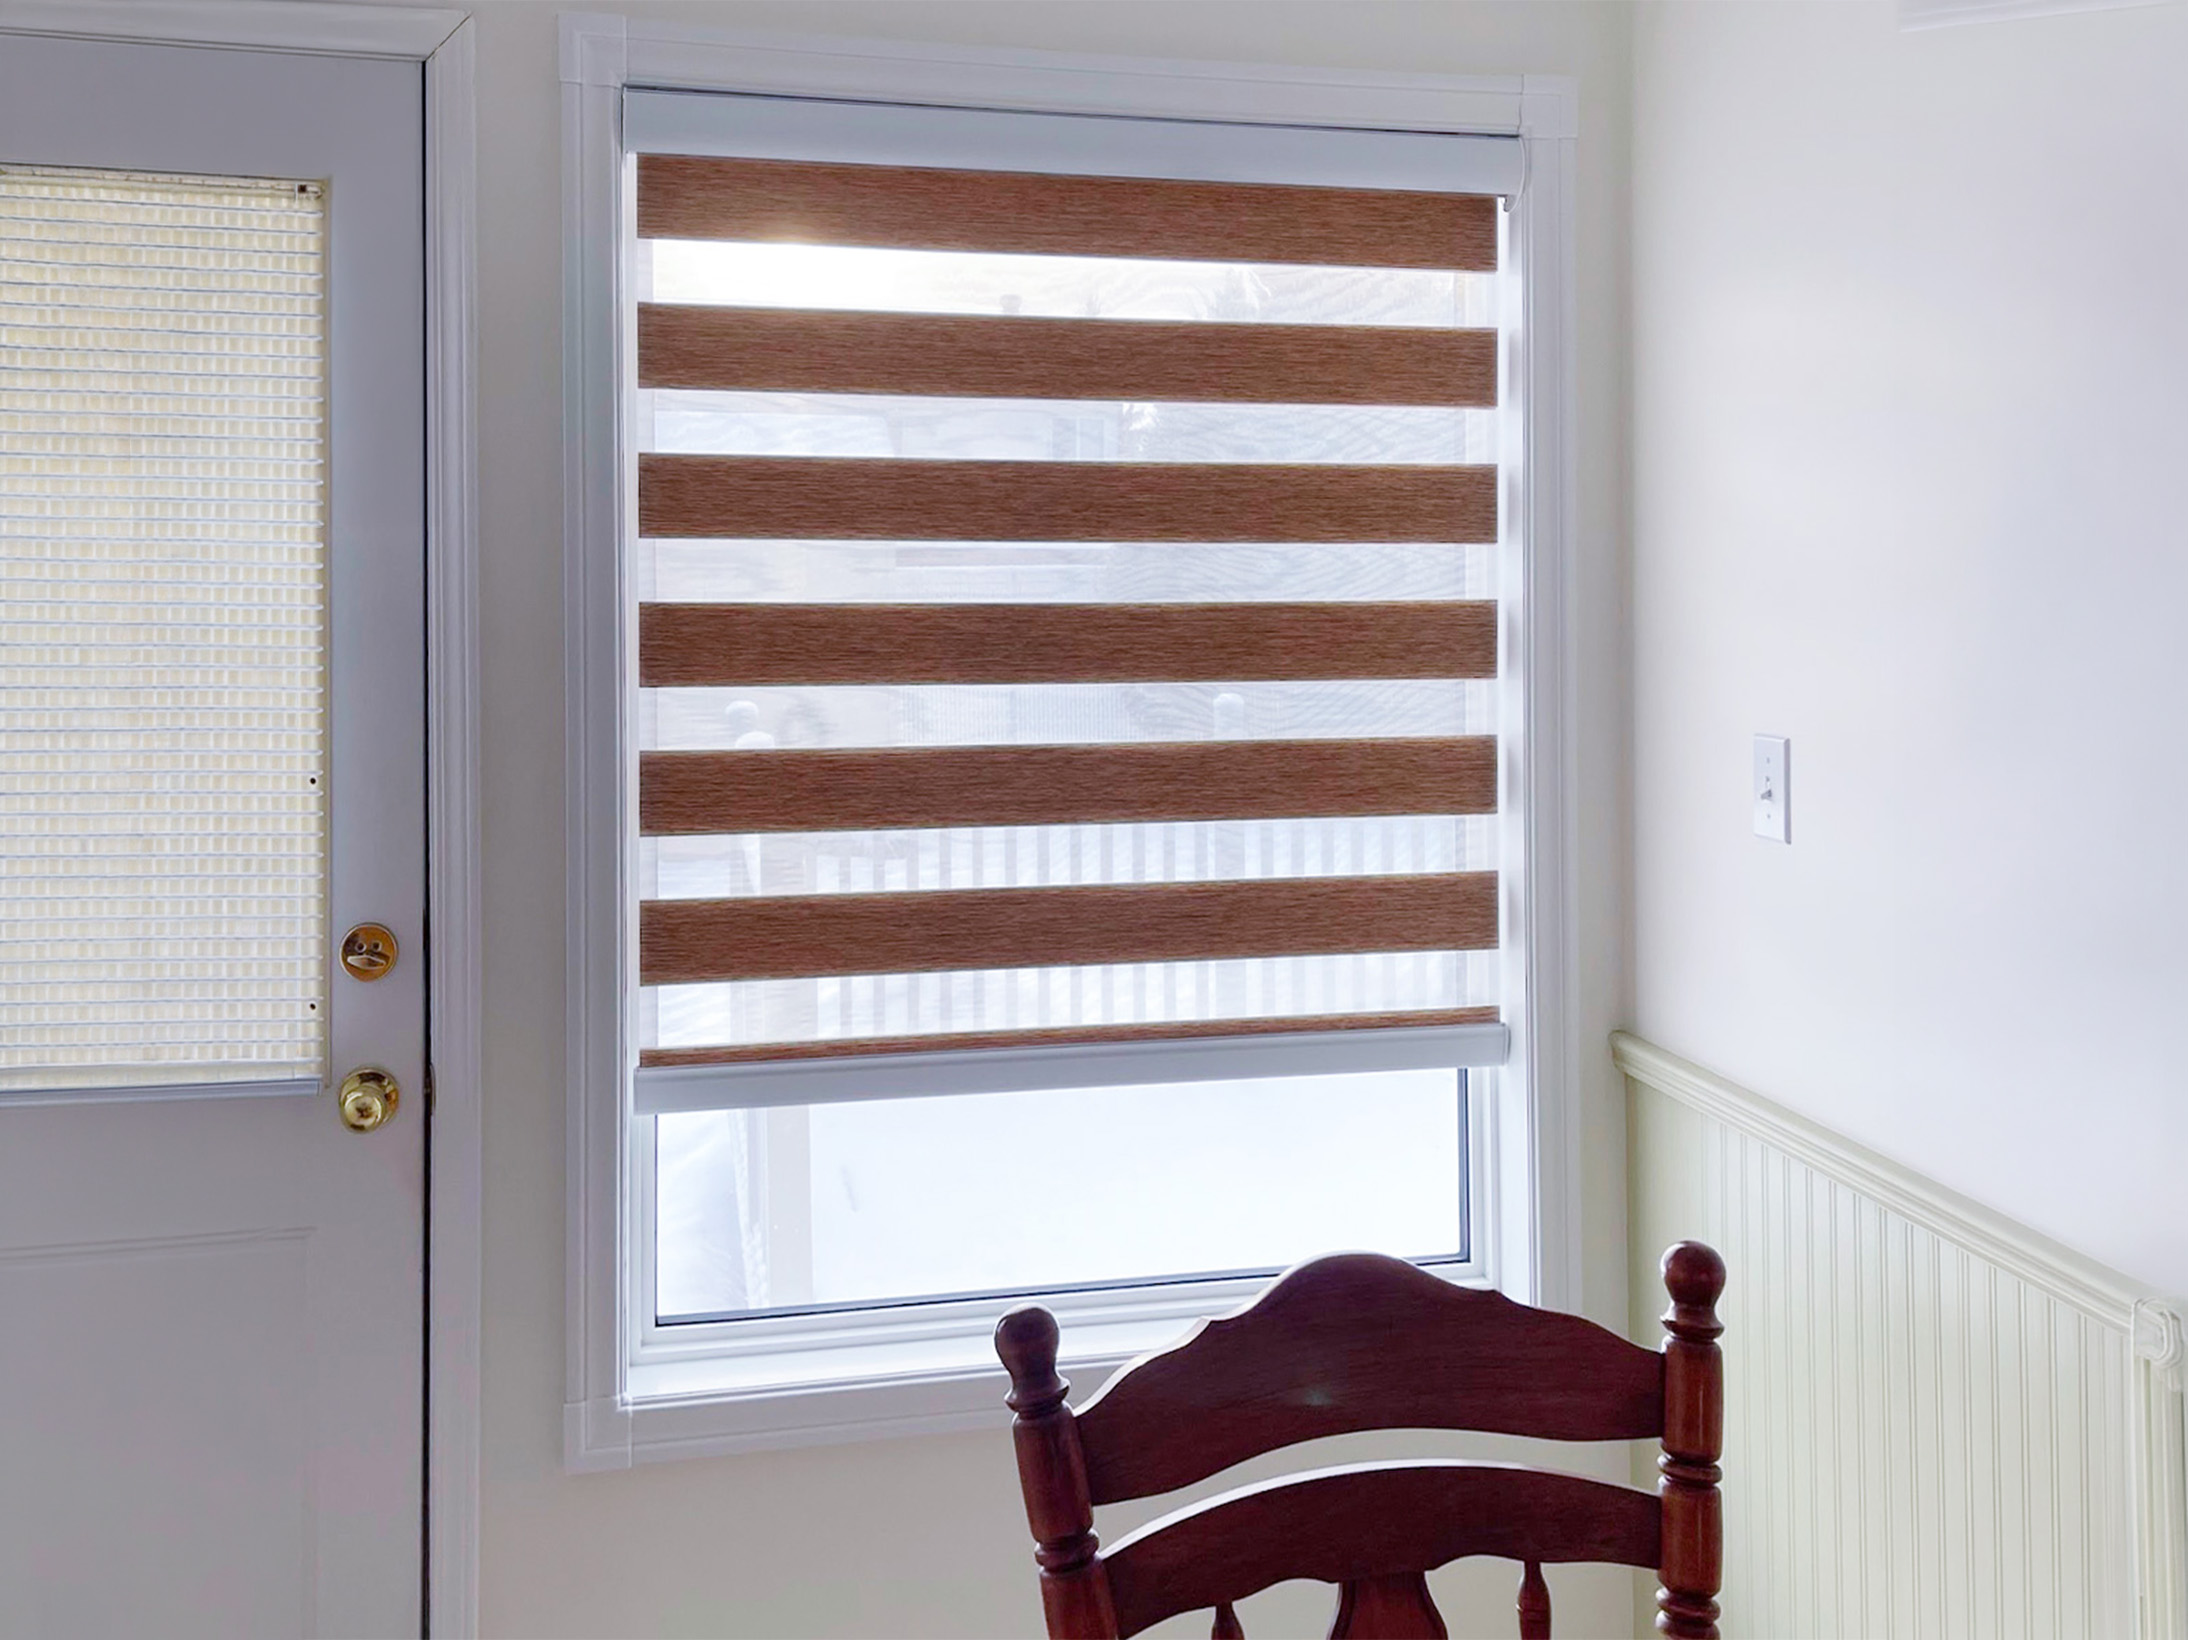
4. Confirm what you are drilling into.
Wood, drywall, masonry and metal require different fasteners. Do not assume the screws or anchors supplied with the blind are suitable for every mounting surface.
Be extra careful with vinyl windows. The sash, frame, jamb, casing, and wall are all different parts, and not all of them are meant to hold blind hardware.
5. Drill pilot holes and secure the brackets.
Use the correct bit and fastener for the mounting surface. Tighten the brackets securely without overtightening screws into softer materials.
6. Install any required centre supports.
Wider or heavier blinds might need extra brackets. If you skip them, the headrail or roller could bend or sag over time.
7. Attach the blind to the brackets.
Depending on the system, the headrail or cassette may snap, slide or lock into place. Support the blind with both hands and make sure every bracket is fully engaged.
8. Test your new window treatments
Raise and lower it several times. Check that it stays level, operates smoothly and clears the window hardware. Then open and close the window to confirm that neither product interferes with the other.
If your window coverings do not fit right, feel too heavy, or you have to make up your own way to mount them, stop and do not force it. With custom, motorized, or very large blinds, fixing a bad installation is often harder than getting it right the first time.
How to Install Blinds Inside a Window
Inside-mounted blinds go inside the window frame, so you need to be more precise than with an outside mount. The blind should fit the space, clear any window hardware, and stay level without touching the sides.
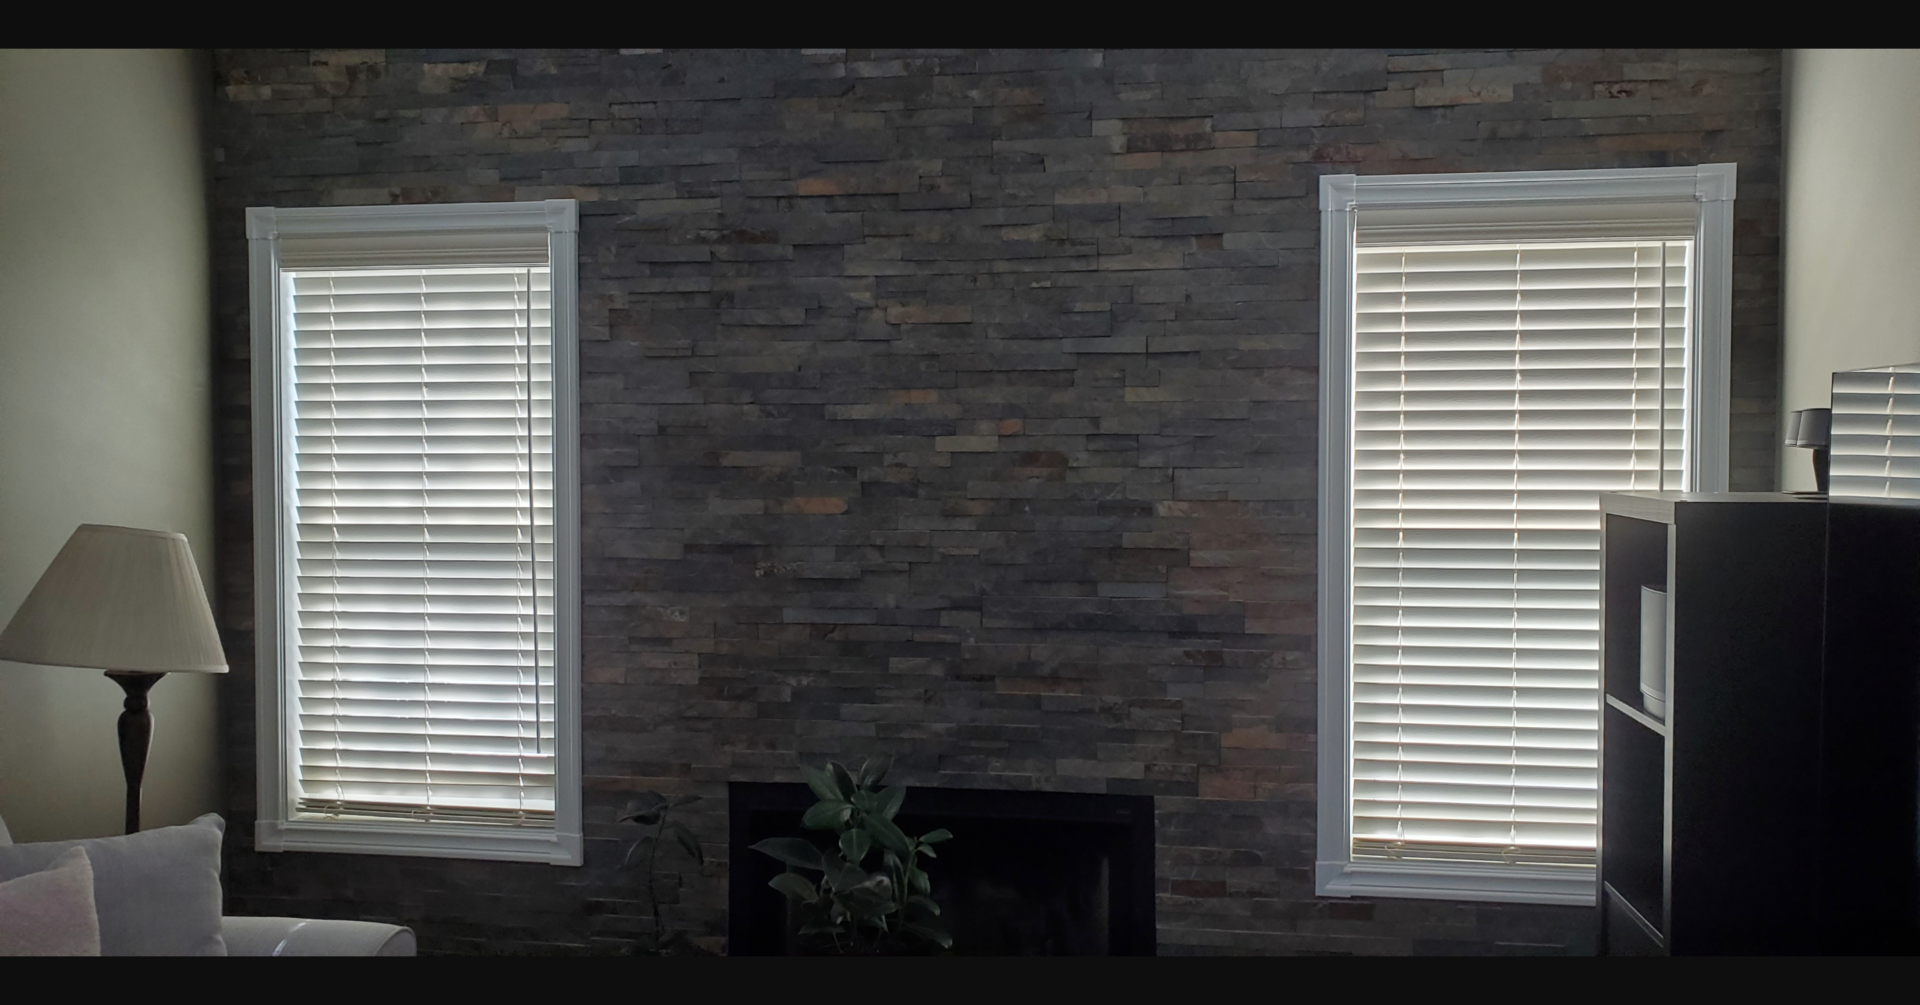
1. Test-Fit the Blind Inside the Opening
Before marking any holes, place the headrail, cassette or roller in the intended position.
Check that:
- the blind fits within the opening
- the cassette or headrail has enough mounting depth
- window handles and cranks remain accessible
- the sash can still open properly
- screens can be removed if needed
If the blind sticks out a little past the opening, that can be fine for some types. The important thing is that the brackets are attached to something solid and the blind can move freely.
2. Mark the Bracket Positions
Position the brackets according to the manufacturer’s installation instructions. Avoid placing them directly over internal mechanisms, motors, chains or other operating components.
For the best look, make sure both brackets are set the same distance from the front edge of the window. If one is farther forward than the other, the cassette or headrail can look twisted, even if both sides are level.
3. Check the Blind Is Level
Use a level across the bracket marks before drilling. This matters a lot with zebra and roller blinds. Even a small difference in bracket height can be easy to spot on a wide window and can affect how the fabric moves.
4. Drill and Secure the Brackets
Drill pilot holes where appropriate and use fasteners suited to the mounting surface. Do not just assume you are drilling into solid wood because the blind is inside the window frame. Construction can vary, and you might be drilling into drywall, wood, metal, or something else.
5. Add Centre Supports Where Required
Wide horizontal blinds, larger headrails and some heavier systems require an additional support bracket. Put the support where it will help the headrail but not get in the way of the blind’s moving parts. If the manufacturer gives you a centre bracket, make sure to use it.
6. Attach the Blind
Fit the headrail, cassette or roller into the installed brackets. Depending on the product, it may click, slide or lock into place. Make sure every bracket is locked in place before you let go of the blind.
7. Test Both the Blind and the Window
Lower and raise the blind several times. It should move smoothly, stay level and avoid rubbing against the sides of the opening. Then operate the window itself. Open the sash, turn the crank, use the locks and check the screen. A successful inside-mount installation should not make the window harder to use.
A common error is that it is not always best to push an inside blind as far back as you can, even if it looks neater since it may end up blocking the handles, the screens, or the moving sashes; the brackets should be placed in a position where both the blind and the window have sufficient space.
How to Install Outside-Mount Window Blinds
Outside-mounted blinds are attached to the wall, window casing, or another surface around the window. They are often easier to place than inside mounts because you do not have to worry about window depth, but getting the overlap and bracket alignment right is very important for a good result.
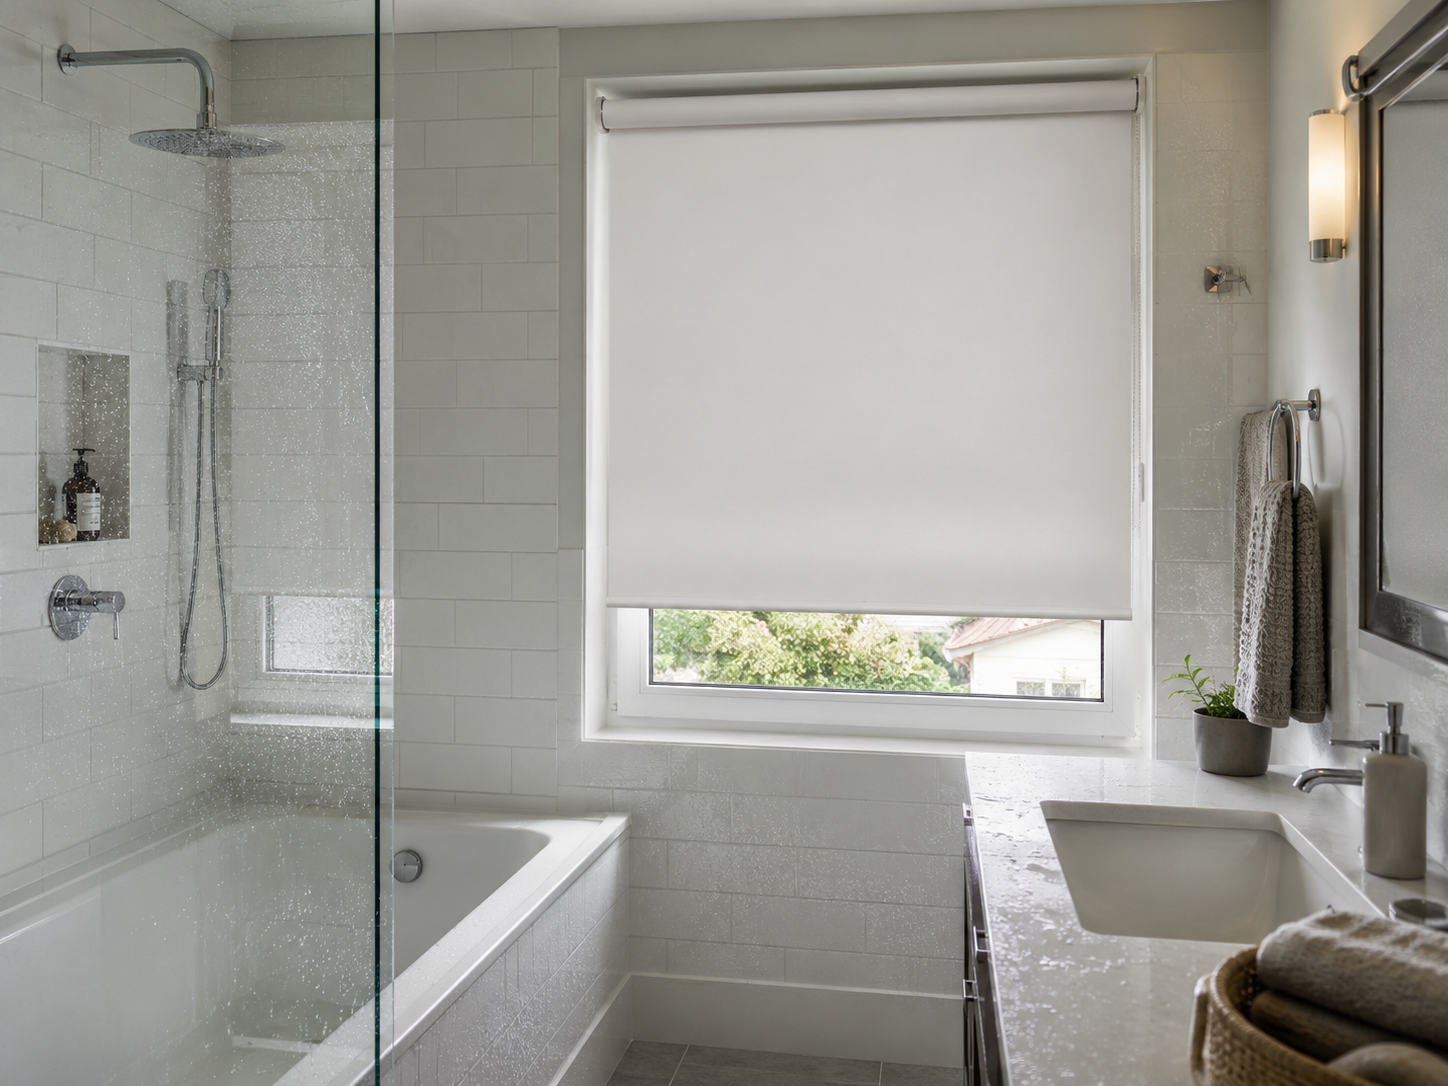
1. Centre the Blind Over the Window
Hold the blind or headrail in the planned position and mark the centre of both the blind and the window opening.
For an outside mount, the blind is usually wider than the glass or opening. The goal is to create even coverage on both sides rather than simply aligning the product with one edge of the trim.
Before you drill, step back and look at the position to make sure it looks right. This is especially important if you are putting up several blinds next to each other in the same room.
2. Plan Enough Overlap Around the Opening
Outside mounts can provide better privacy and light control because the blind can extend past the edges of the window. This is particularly useful for bedroom blackout shades. A blackout fabric can block light completely through the material while still allowing daylight around the perimeter if the shade barely covers the glass.
Adding more overlap usually helps block light at the edges, but how much you need depends on the blind, window trim, and wall space. Also check that the blind will not cover nearby switches, vents, shelving or other features once fully lowered.
3. Allow for Projecting Window Trim
Decorative trim can cause problems too. If the trim sticks out from the wall, a blind mounted right above it might not hang straight. Depending on the blind system, the installer may need to position the brackets farther forward or use compatible spacer blocks so the fabric, slats or bottom rail can clear the casing.
Do not use makeshift spacers that are not secure. Any extension you add needs to be strong enough to hold the blind and handle its movement.
4. Mark a Level Bracket Line
Once the height and overlap are confirmed, use a level to establish the bracket positions. Do not rely only on the ceiling, casing, or top of the window to line things up. In older homes, the trim or window might not be perfectly level.
If you have several windows next to each other, keeping the blinds at the same height can look better than matching each one to its own frame.
5. Confirm the Mounting Surface
Outside-mounted blinds may be attached to solid wood trim, framing behind drywall, masonry or another structural surface. The fasteners you use should match both the material you are drilling into and the weight of the blind. Heavier and wider blinds put more strain on the brackets, especially when you raise and lower them often.
If you are not sure what is behind the spot where you want to mount the blind, it is a good idea to call a professional installer.
6. Secure the Brackets and Any Additional Supports
Drill the required pilot holes and install the brackets according to the manufacturer’s spacing instructions. Wide headrails or heavy blinds might need center supports. Put these on the same level as the end brackets and make sure they do not block any moving parts.
7. Mount and Test the Blind
Attach the blind, then operate it through its full travel. Check that:
- the shade hangs evenly over the opening
- the bottom rail clears projecting trim and handles
- the blind does not rub against the wall or casing
- all brackets remain secure during operation
- you can still smoothly operate your window
If you are putting up a blackout roller shade in a bedroom, you might get better results by mounting it a bit higher and wider than the window opening instead of fitting it right to the glass. This extra coverage blocks more light at the sides and can hide a shallow or uneven window frame.
What Are The Easiest Blinds to Install?
Most window coverings are installed the same way, but differences in weight, hardware, and function can make some types harder to install than others.
| Window covering type | Installation difficulty | Main installation challenge |
| Roller blinds | Easy to moderate | Keeping the roller perfectly level |
| Zebra blinds | Moderate | Cassette depth and precise alignment |
| Cellular shades | Easy to moderate | Headrail positioning inside the recess |
| Faux wood and horizontal blinds | Moderate | Greater headrail weight |
| Motorized blinds | Moderate to advanced | Mounting, power access and setup |
| Large or custom-shaped blinds | Advanced | Weight, bracket load and alignment |
Expert tip: The wider and heavier the blind, the more important it is to install it carefully. A small bracket mistake on a narrow shade might not show, but the same mistake on a big roller, zebra blind, or patio-door blind can affect how it looks and works.
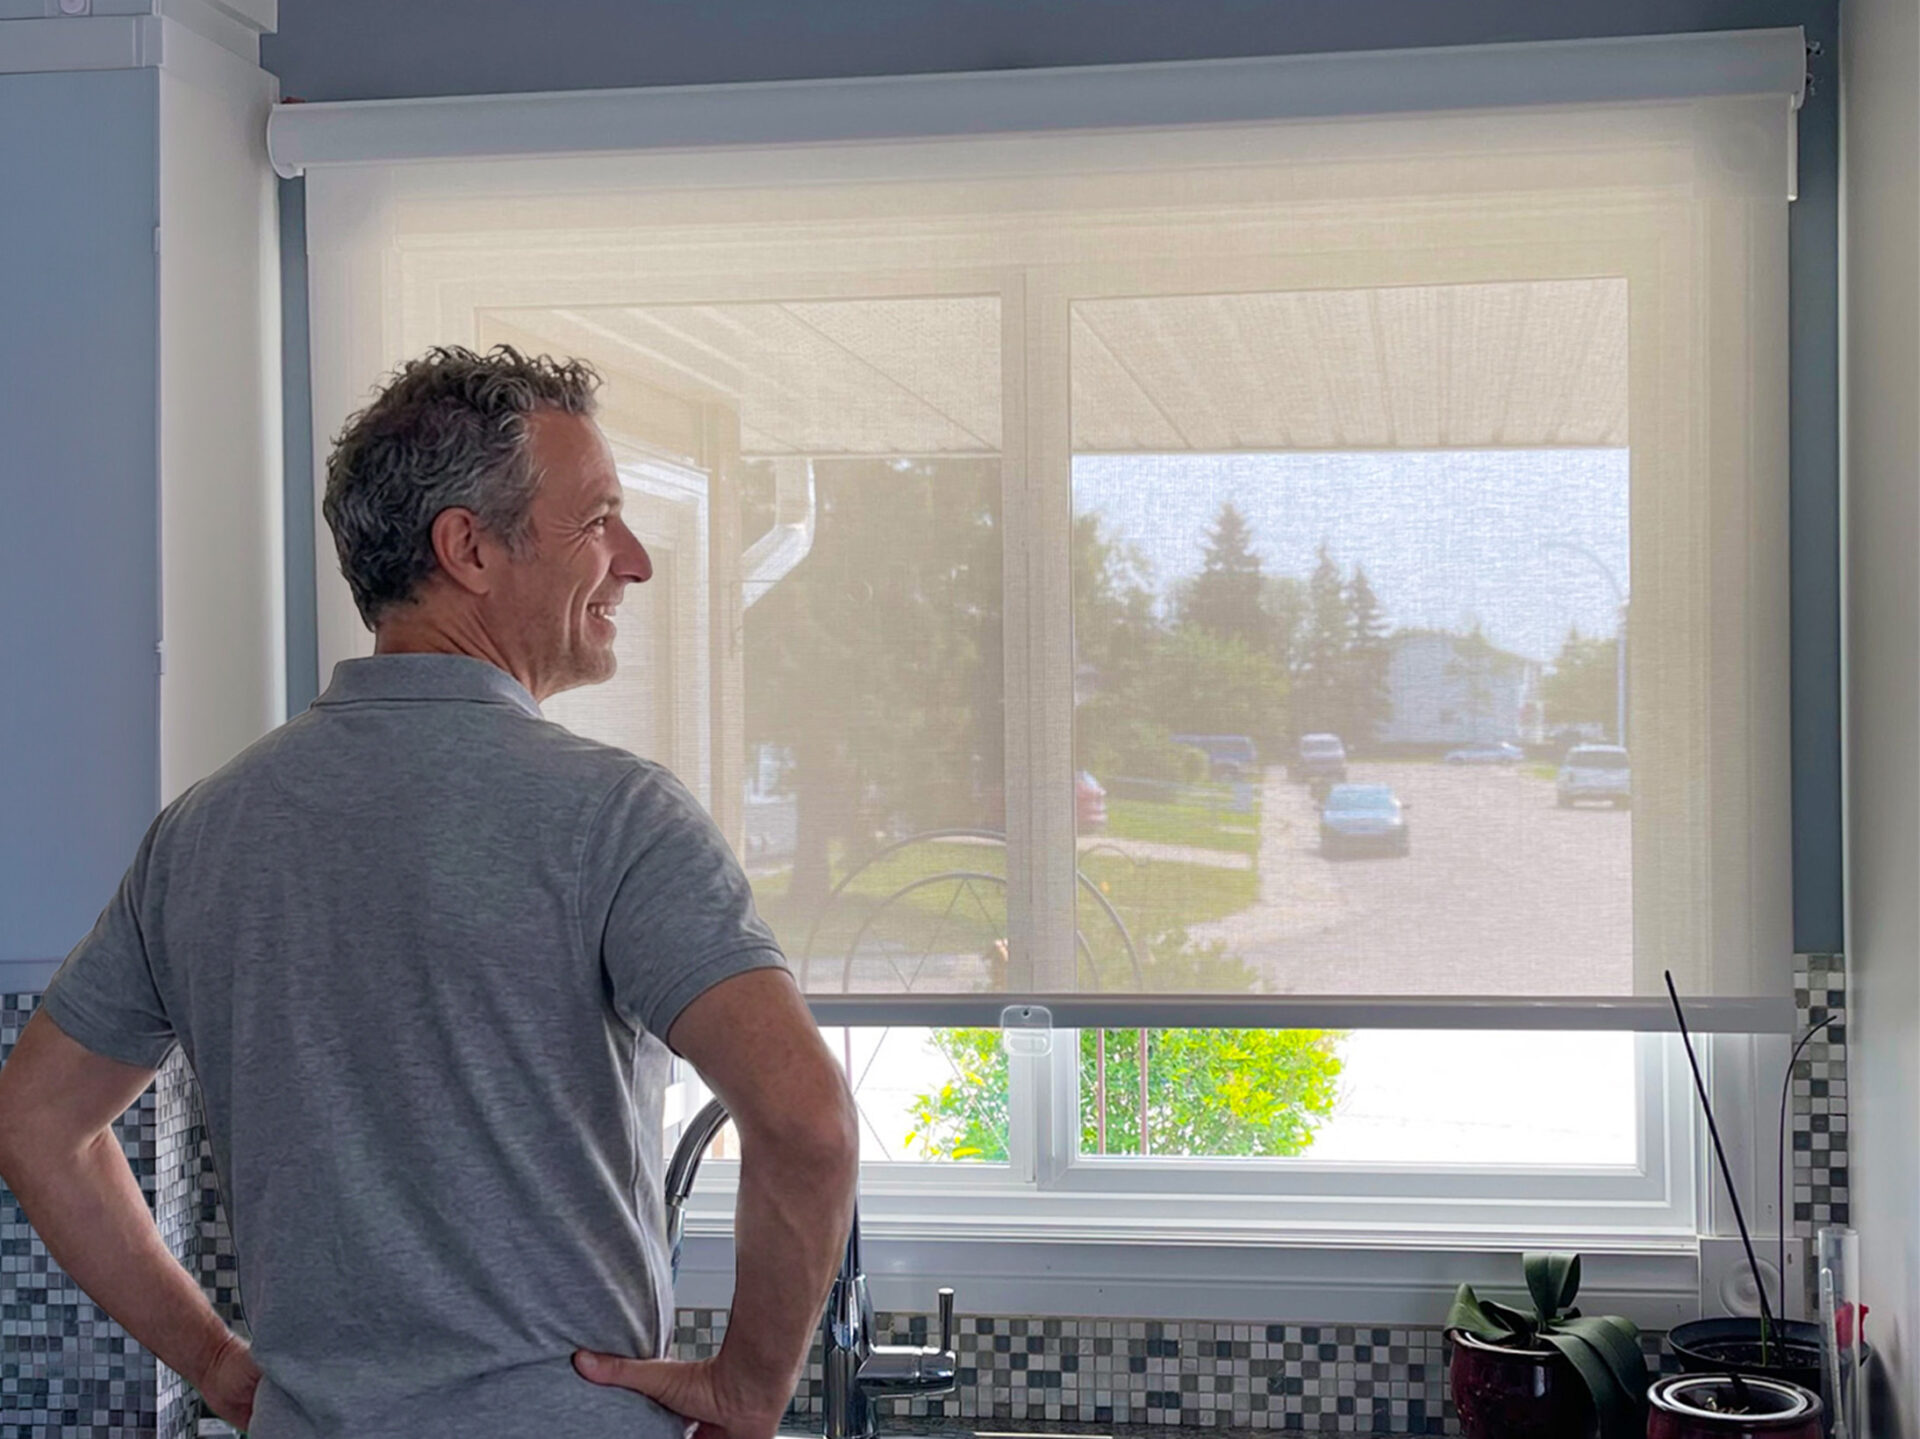
How Much Does It Cost to Install Window Blinds in Canada?
The cost to install blinds depends on what you buy. If you get ready-made blinds from a store, installation is usually extra. With custom blinds, professional measuring and installation are often included in your final quote since mounting them usually requires a dedicated crew, especially for large or custom-shaped windows.
Installing Stock Blinds: DIY or Hire a Handyman
When it comes to ready-made blinds, calling a handyman is usually the simplest option for those who don’t want to carry out the job themselves. Rates may vary but are generally around $50 – $70 per window. All in all, for a few easy windows, plan for about one to two hours of work.
Custom Blinds: Budget for Supply and Professional Installation
For custom blinds, it is best to have a professional install them instead of doing it yourself. The installer checks the final measurements and mounting spot, uses the right fasteners, makes sure each blind is level, and tests how it works. This is especially important for wide shades, big windows, blackout blinds, and motorized products.
Here are some approximate price ranges for the most popular supply and install window blind projects at Ecoline:
| Window covering type | 20″ × 25″ | 50″ × 50″ | 90″ × 90″ |
| Roller, light filtering | from $260 | from $285 | from $485 |
| Roller, blackout | from $315 | from $345 | from $665 |
| Zebra, light filtering | from $250 | from $260 | from $390 |
| Zebra, blackout | from $280 | from $297 | from $517 |
| Cellular, light filtering | from $197 | from $440 | from $1,000 |
| Cellular, blackout | from $225 | from $500 | from $1,200 |
| Vertical blinds | from $250 | from $330 | from $615 |
7 Common Blind Installation Problems and How to Fix Them
Even if your measurements are right, small mistakes during installation can change how the blind looks and works. Here are some common problems to watch for:
- The blind hangs crooked. Check both brackets with a level. One bracket may be slightly higher, or the window opening itself may not be square.
- The brackets feel loose. The fastener may not suit the mounting surface. Drywall, wood and masonry require different fixing methods, particularly for heavier blinds.
- The blind hits a handle or crank. The mounting position may not provide enough clearance. Moving the blind farther forward may help, although some inside mounts do not have enough depth.
- Roller fabric moves toward one side. Start by checking that the brackets and roller are level and correctly seated before adjusting the blind itself.
- Blackout blinds still let light in at the edges. This usually means the blind does not cover enough area, not that the fabric is faulty. Using an outside mount with more overlap can help block those gaps.
- A wide blind sags or flexes. Check whether the manufacturer requires a centre support bracket. Wider and heavier blinds often need more than two mounting points.
- The blind does not fit the recess. Do not force or modify a custom blind. Recheck the ordered dimensions and mounting depth first.
If you keep adjusting the blind and it still does not work right, a professional installer can usually figure out if the problem is with the mounting, the size, the hardware, or the blind itself.
 Window Treatments For New Vinyl Windows: What to Choose in 2026
 An Ultimate Buying Guide to Custom Zebra Window Blinds in Canada
 All You Need to Know Before Buying Faux Wood Window Blinds
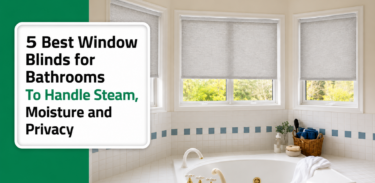 5 Best Window Blinds for Bathrooms To Handle Steam, Moisture and Privacy
 Interior vs. Exterior Window Installation: What’s the Difference?
 How Long Does Window Installation Take: All You Need to Know in 2026

1750 Coast Meridian Rd #102,
Port Coquitlam, BC V3C 6R8
100, 17866 106A Avenue,
Edmonton, AB, Canada,
T5S 1V3
3307 Dunmore Rd SE #12,
Medicine Hat, AB,
Canada, T1B 3R2
2081 Merivale Rd #201, Ottawa, ON, Canada, K2G 1G9
by appointment only
108, 55 Akerley Blvd, Dartmouth,
NS, Canada, ВЗВ 1M3